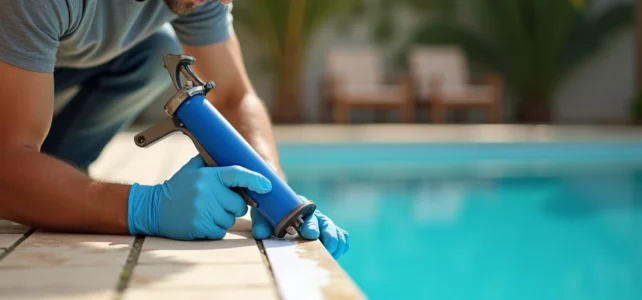
A tiled pool basin with cement joints that are starting to crack or powder poses a concrete problem: one hesitates between scraping everything and starting from scratch, or directly covering it with epoxy mortar. The second option saves considerable time, but it only works if the existing substrate meets specific conditions. Here’s how to approach this intervention without unpleasant surprises.
Diagnosis of the existing joint before any epoxy application in the pool
Before pulling out the resin bucket, start by probing each joint with a flat screwdriver. If the blade sinks in easily or if pieces break off in patches, the cement joint is no longer structurally sound. In this case, an epoxy overlay will not hold: you must first remove the crumbling areas with a grinder or oscillating scraper, then fill with adhesive mortar before applying the epoxy.
On the other hand, when the existing joint is hard, adherent to the tiles, and simply stained or slightly porous, the overlay becomes viable. Also check for the absence of through cracks in the tiles themselves, as structural movement would cause the epoxy joint to work beyond its elasticity capacity.
A often overlooked point: the profile of the joint. If the old joint is flush with the surface of the tile, the added epoxy layer will be very thin, less than a millimeter. However, such a thin film does not ensure reliable waterproofing in a permanently submerged environment.
The ideal remains to dig out the existing joint by at least two millimeters to provide sufficient thickness for the new mortar. This operation can be performed with a Dremel equipped with a fine disc, following the joint lines at a moderate speed.
When considering applying an epoxy joint over an existing joint, this diagnostic step conditions the entire final result. Skipping the inspection is like betting on luck, and in a pool, water always finds the weak point.
Sanding and cleaning the substrate: the steps that change adhesion
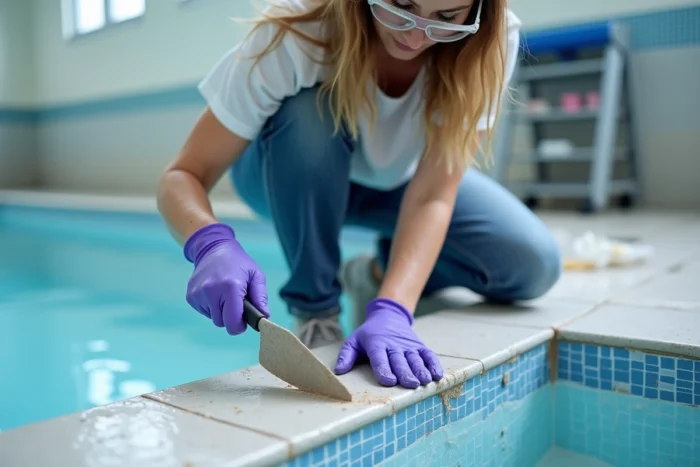
Epoxy mortar adheres through chemical bonding. On a smooth cement joint or one glazed by years of chlorine treatment, this adhesion drops significantly. A light sanding with 80-grit paper opens the pores of the joint and creates a rough surface favorable for bonding.
After sanding, vacuum the dust and then clean with clear water, without greasy detergent. Residues from sunscreen, algaecide, or flocculant form an invisible film that prevents the resin from penetrating. A wipe with a sponge soaked in isopropyl alcohol removes these greasy traces. Allow the substrate to dry completely before applying anything.
Complete drying of the basin is a prerequisite that field returns confirm: even slight residual humidity in the cement joint causes bubbles in the epoxy and compromises waterproofing. In hot weather, allow at least forty-eight hours for the basin to be emptied and ventilated.
Application of epoxy joint on pool tiles: operational method
The resin and hardener mixture is prepared by strictly adhering to the manufacturer’s proportions. Work in small quantities, as the open time of epoxy mortar is short, especially when the substrate temperature exceeds twenty-five degrees.
Filling and smoothing
Apply the mixture with a hard rubber squeegee, diagonally across the joints, to force the paste to penetrate deeply. The motion should be firm and steady. Two crossed passes are better than a single heavy pass.
Cleaning the epoxy residues from the tiles should be done within minutes of application, using the sponge and cleaning product provided by the manufacturer. Once polymerized, epoxy becomes nearly impossible to remove without risking damage to the tile enamel.
Managing critical areas
Recessed corners (junction of floor and wall, stair steps) concentrate the mechanical stresses related to water pressure and thermal variations. In these areas, fill generously and smooth with a gloved finger rather than with a squeegee, to perfectly match the profile.
- Expansion joints (dilating joints between tile panels) should never be filled with rigid epoxy: use a flexible sealant compatible with pools, usually silicone or polyurethane-based.
- Sealing fittings (return jets, skimmers, lights) require a flexible peripheral joint. Rigid epoxy applied flush to an ABS fitting would eventually detach due to the micro-vibrations from the pump.
- Waterline areas, subjected to immersion and evaporation cycles, endure more chemical stress: prioritize an epoxy formulated to withstand heavily treated water with chlorine or bromine.
Chemical compatibility with pool treatments
Pools treated with chlorine, bromine, or active oxygen expose joints to continuous chemical aggression. A quality epoxy mortar withstands these products well in typical household dosages. Feedback varies on this point for salt-treated pools (electrolysis), where the local chlorine concentration at the cell can exceed standard thresholds.
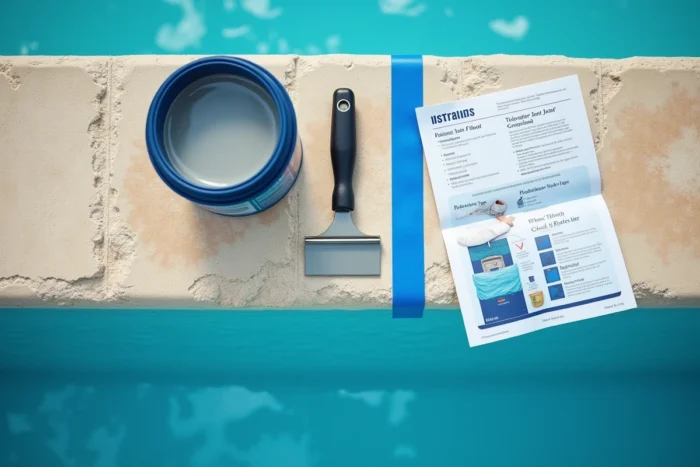
Checking the technical data sheet of the epoxy product to confirm its compatibility with the pool treatment method remains the most reliable precaution. Some manufacturers explicitly exclude bromine or ozone pools from their warranty.
For collective use pools (gîtes, campsites, guesthouses), regulations impose enhanced sanitary controls with often higher disinfectant levels. The chosen epoxy joint must then be explicitly compatible with these dosages, in accordance with the public health code requirements for pools accessible to the public.
Refilling delay and final checks
The complete polymerization of an epoxy joint varies depending on the formulation and ambient temperature. Generally, one waits several days before refilling the pool, even if the joint feels hard to the touch within a few hours.
- Visually inspect each joint with a grazing lamp to detect any filling deficiencies or trapped air bubbles.
- Run your finger over the joints: any sticky or soft area indicates incomplete polymerization, often due to improper mixing ratios.
- Fill the pool slowly, in stages, and monitor the water level during the first forty-eight hours to spot any potential leaks.
A properly applied epoxy joint over a healthy old joint offers durable waterproofing and chemical resistance, provided that each preparatory step has been followed. The shortcut of applying directly over an un-sanded or damp substrate turns a promising renovation into a project to redo the following year.